Are you fascinated by the unique and enchanting axolotl? Do you have a passion for art and want to showcase these amazing creatures through your drawings? Look no further! In this article, we will guide you through the process of creating stunning axolotl drawings that are sure to impress. Whether you are a beginner or an experienced artist, these tips and techniques will help you bring these captivating creatures to life on paper.
Understanding the Axolotl
Before diving into the world of axolotl drawing, it is essential to have a good understanding of these fascinating creatures. The axolotl, also known as the Mexican walking fish, is a type of salamander native to Mexico. They are known for their unique appearance, with feathery external gills and a permanent juvenile form.
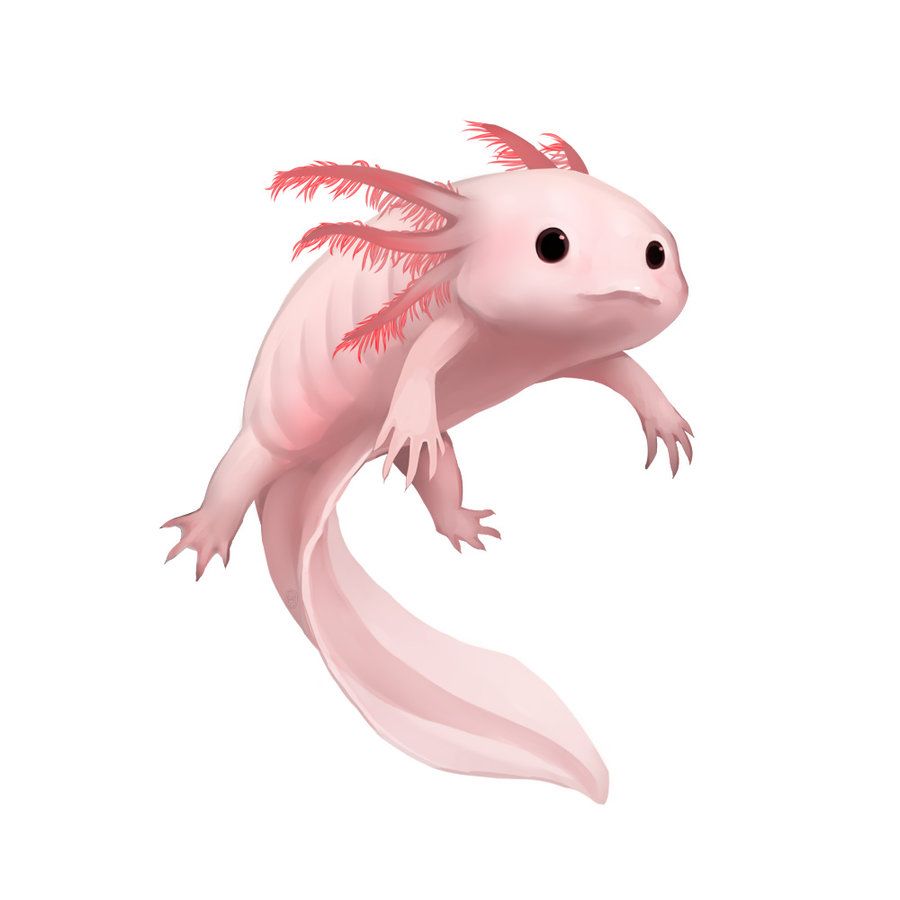
When starting your axolotl drawing, it is crucial to study reference images to familiarize yourself with their features. Pay attention to their body proportions, the shape of their head, and the placement of their gills. This will ensure that your drawing accurately represents these captivating creatures.
Gathering Your Drawing Materials
Now that you have a good understanding of the axolotl's unique features, it's time to gather your drawing materials. Here are some essentials you will need:
- Drawing paper: Choose a high-quality paper that is suitable for the medium you plan to use.
- Pencils: Invest in a range of graphite pencils to achieve different tones and textures in your drawing.
- Erasers: Have both a kneaded eraser and a precision eraser for correcting mistakes and adding highlights.
- Blending tools: Blending stumps or tortillons can help you achieve smooth transitions and textures in your drawing.
- Reference images: Collect a variety of axolotl images to inspire and guide your artwork.
Sketching the Basic Form
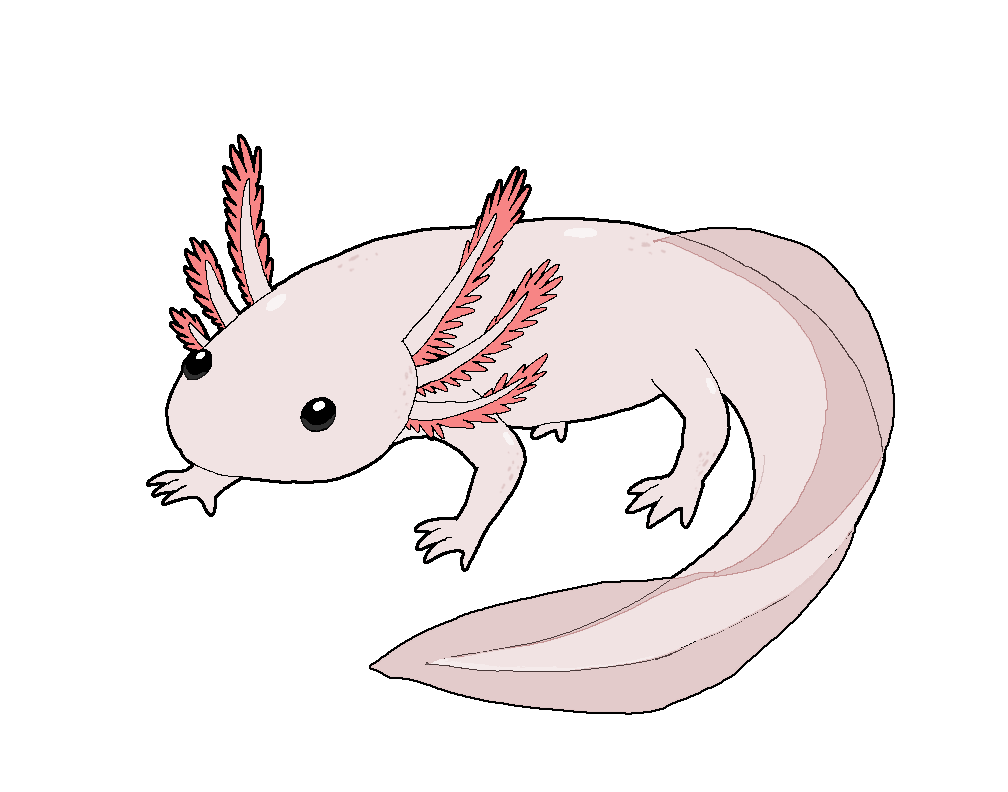
Now that you have your materials ready, it's time to start sketching the basic form of the axolotl. Begin by lightly sketching an oval shape for the body, and then add a smaller oval for the head. Remember to keep the proportions accurate and pay attention to the placement of the gills.

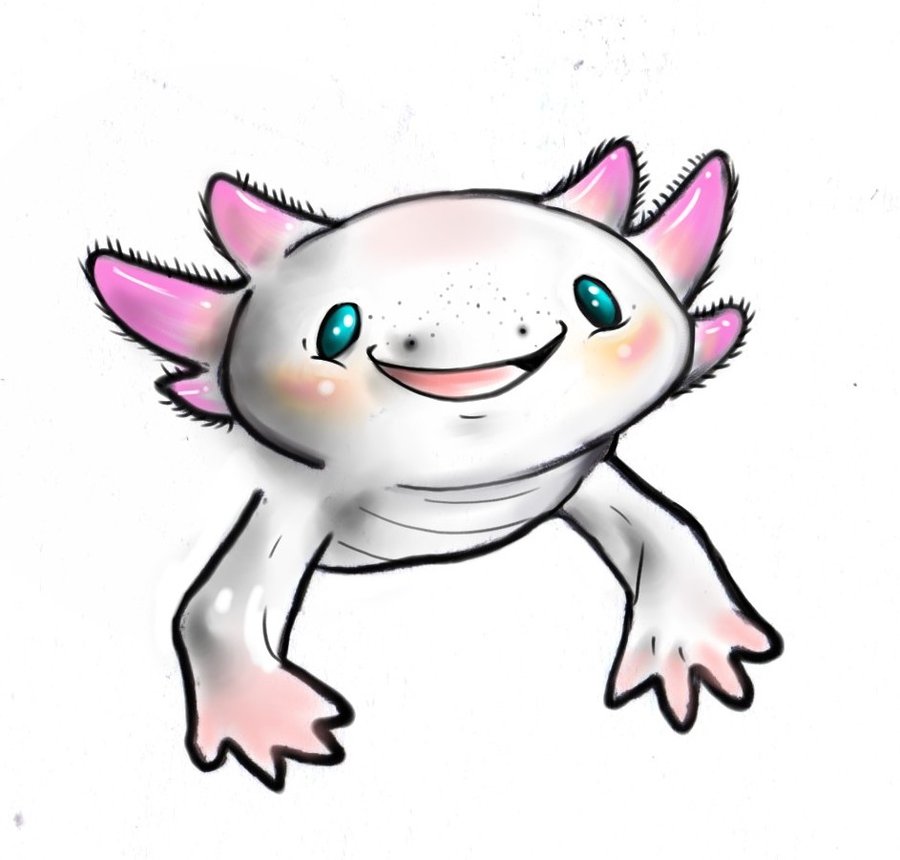
Once you have the basic structure in place, start adding details such as the eyes, mouth, and limbs. Take your time and observe the reference images closely to capture the unique characteristics of the axolotl. Use light, gentle strokes with your pencil to create a loose sketch that can be refined later on.
Adding Depth and Texture
Now that the basic form is complete, it's time to add depth and texture to your axolotl drawing. Begin by shading the darker areas of the axolotl's body, such as the underside and any creases or folds. Use a range of graphite pencils to achieve different tones and values.
Pay close attention to the texture of the axolotl's skin, which is covered in tiny scales. Create this texture by using short, overlapping strokes with your pencil. This technique will give your drawing a realistic and three-dimensional appearance.
Adding Color to Your Drawing
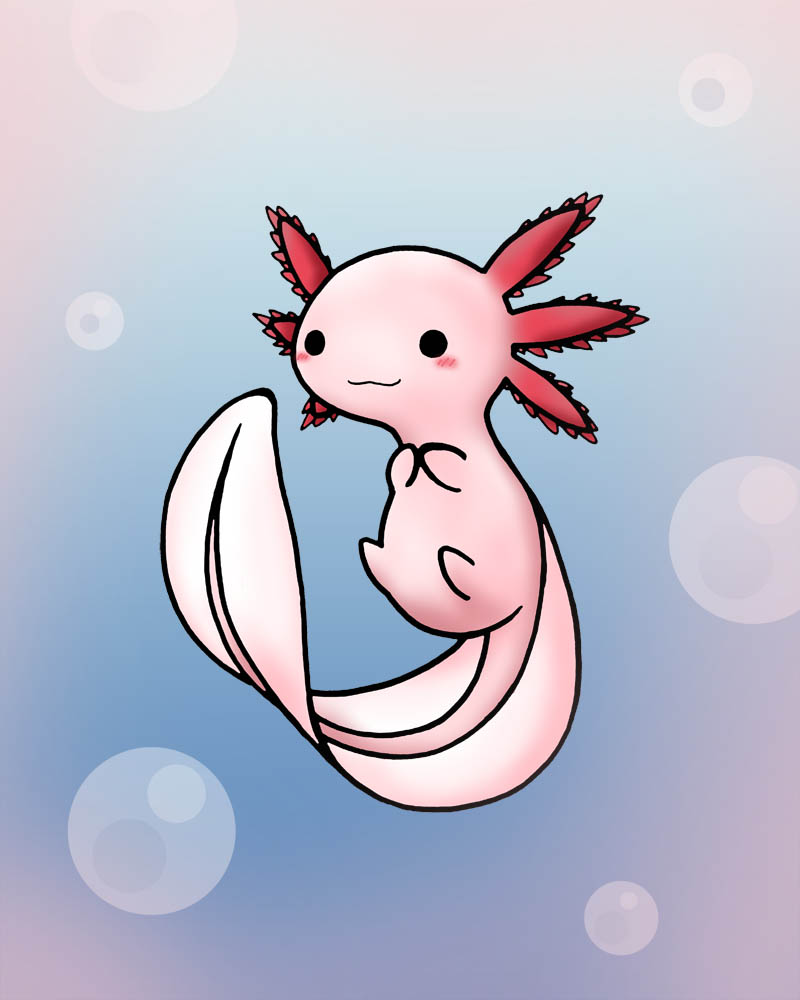
If you wish to add color to your axolotl drawing, you can use colored pencils or watercolors. Start by applying a base layer of color, and then gradually build up the tones and shades. Refer to your reference images to ensure accurate color representation.

Remember to blend the colors smoothly to create a realistic and vibrant look. Use a blending tool or a soft brush to achieve smooth transitions between different colors. Take your time and layer the colors gradually to achieve the desired effect.
Adding Final Details and Highlights
Once you are satisfied with the overall form and color of your axolotl drawing, it's time to add the final details and highlights. Use a precision eraser to selectively lighten areas of the drawing, such as the axolotl's face or the gills, to create highlights and bring out the features.
Take your time with this step and observe your reference images closely. Adding these final touches will make your axolotl drawing truly stand out and appear more realistic.
Conclusion
Creating stunning axolotl drawings requires practice, patience, and attention to detail. By following the steps outlined in this guide and studying reference images, you can bring these enchanting creatures to life on paper. Whether you choose to create a black and white graphite drawing or a colorful masterpiece, the key is to enjoy the process and let your creativity shine.
